Any Website Build a Mac, Linux and Windows desktop application with using nativefier.
This article is for everyone who wants to build a desktop app from a website. The following steps only include the procedure to build a web Application. This means it won’t be a native application. To put this in context the resource won’t be compiled nativly. The only think which will happen is that nativefier is using electron to build a container around your website and provide this container as .exe file for windows and .app file for mac osx and also there is a linux file available. For reference we are using mac osx in our environment. But the steps indicated should also work on any other system. So for creating such files follow those steps indicated below:
Basic Steps
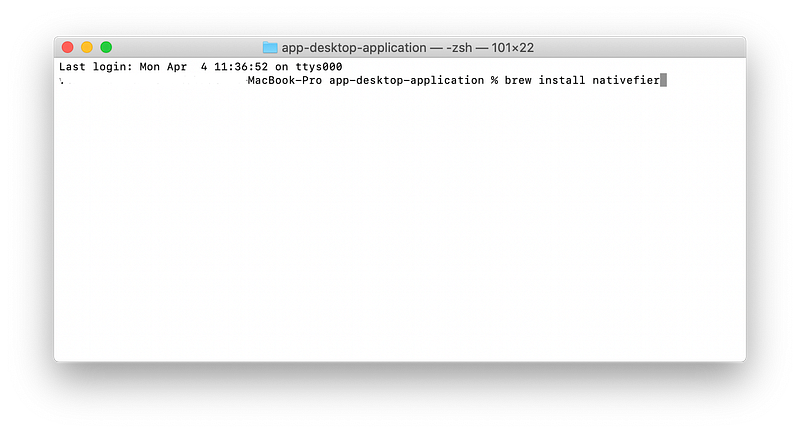
1.Execute “brew install nativefier”
2.Execute nativefier ‘example.com’
please keep in mind to replace example.com with your website, which you would like to have a desktop application from.
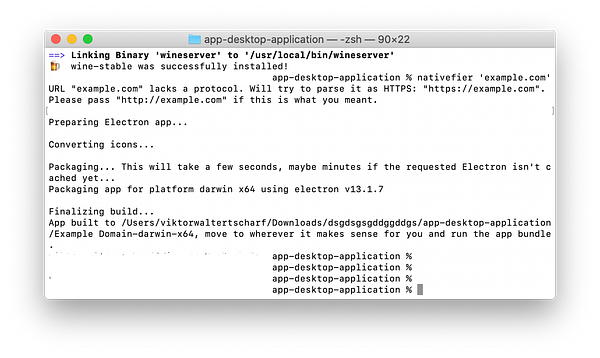

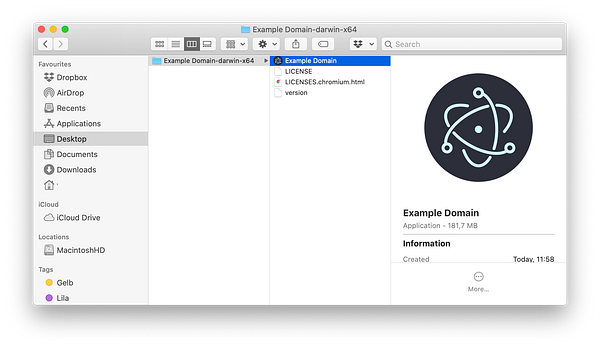
if you know execute the app it should start and show the content from example.com like the image below:
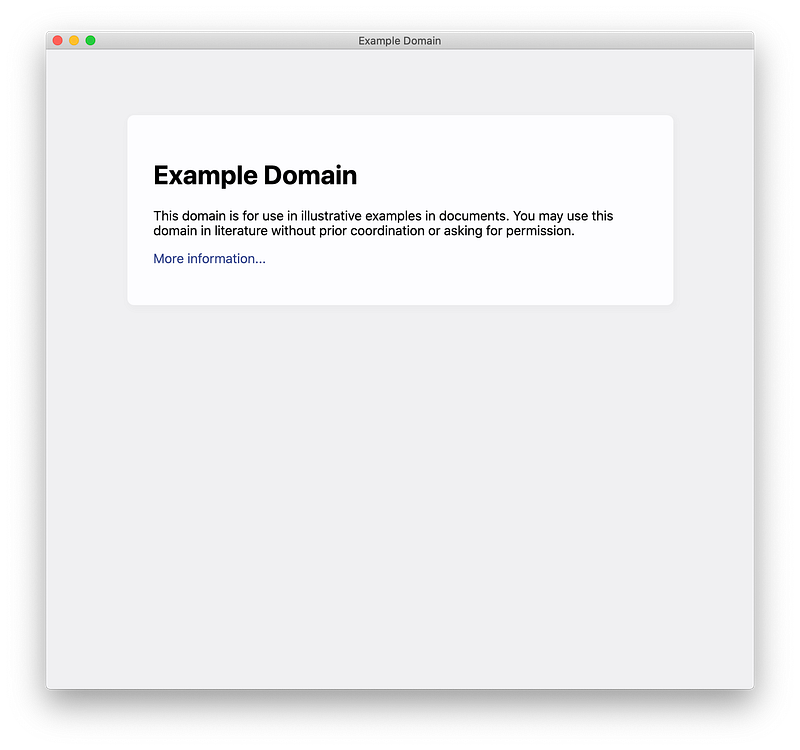
Now you are done and successfully build your desktop mac osx app from your website. For advanced options follow the next steps.
Advanced Steps
- Execute nativefier ‘example.com’ -p windows
this command builds the desktop application for windows. we should see something like the image below if the build was successful.
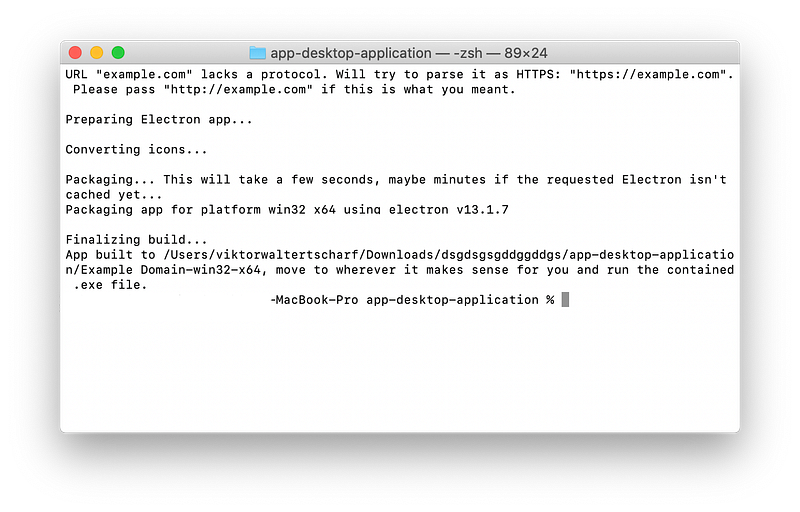
The parameter windows can here be replaced with either of “mac”, “linux” or as indicated “windows”.
2.The following files should be there.
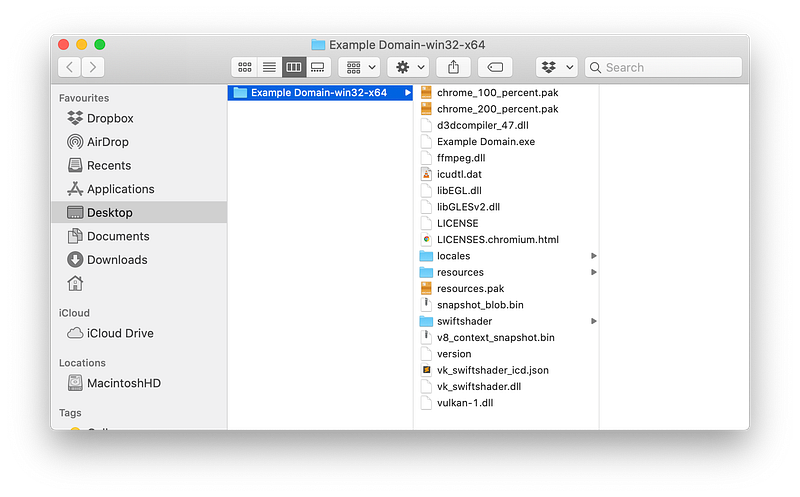
3.Define an icon as Desktop application:
use the following:
nativefier 'example.com' --icon ./src/icons/4546x4546.icns
4.Allow nativefier to open other websites then you indicated. For example you want to use a iframe on example.com. Therefore use the following example.
this can also apply if you are using an authentication provider like KeyCloak.
nativefier 'example.com' --icon ./src/icons/4546x4546.icns
--internal-urls ".*(harvestapp|google|getharvest|auth0)\.com.*"
here replace one of the switch cases with your other website you want to allow access from. This means for example replace auth0 with your keycloak IP address or hostname.
5.Transparent Titlebar in Mac OSX
nativefier 'example.com' --title-bar-style 'hiddenInset'
6.Make the transparent window of Mac OSX movable.
For making the transparent window movable you need to insert a CSS file. Therefore creat in your current folder a file name “style.css” and add the following content:
/* site.css */
/* header is draggable... */
body {
 -webkit-app-region: drag;
}
/* make class elements draggable  */
.aside-brand-wrapper {
 -webkit-app-region: drag;
 padding-top: 5px;
}
div#kt_header {
  -webkit-app-region: drag;
}
/* make element with ID not draggable  */
div#kt_aside_menu_wrapper {
 -webkit-app-region: no-drag!important;
}
div#kt_content {
 -webkit-app-region: no-drag!important;
}
After you created the file you can execute the following command:
nativefier 'example.com' --title-bar-style 'hiddenInset' --inject ./style.css
Now you are done and if you open the .app file your application should have a transparent window, which can be moved around.
Final putting it all together
this command here is to show you all available commands combined together:
nativefier
--name "ExampleApp"
--internal-urls ".*(harvestapp|google|getharvest|auth0)\.com.*" https://example.com
--icon ./src/icons/4546x4546.icns
--title-bar-style 'hiddenInset'
--inject ./src/css/style.css
-p mac